Showing posts with label DIY. Show all posts

Monday, May 6, 2013

DIY - Basement laundry room gets a floor!

Hello everyone!  Thanks for stopping by to see our progress on the basement laundry room.  I can say that it is coming along nicely and I am getting excited about getting it finished.

The first portion of the room that we tackled was the floor.  I had read about a peel and stick floor from one of my favorite blogs, Thistlewood Farms in her Butler's Pantry and I loved the look.  We purchased the tiles from Lowe's Home Improvement.

Here is the first tile going down.  The most challenging part of this process was just making sure that we were starting dead center.  You can see that hubby drew "chalk" lines to ensure that he was not going to have to pull out his luscious hair (that most men his age are envious of... HA!) once he reached the side of the room.  He did a great job and there was no need to pull any hair.

We decided to go with Karianne's same look from her Butler's Pantry.  The alternating tiles amp up the look of quality in the room.   I really like it.


The areas that needed less than a full tile were easy to conquer as well.  He just took an x-acto knife and scored the tile where he needed it cut.  Very simple indeed!


Harley Dent was checking the new floor out.  There she is in the lower right hand corner... She's always where her "Mom" is... 


The door on the left goes to my studio, the door on the right is to our daughter's bedroom/guest bedroom.  The stairs are behind the wall on the left and the bathroom door is not seen but is located on the left next to the wall.  This picture was taken before hubby made the cuts to the odd piece there by the wall.  

What do you think of our floor?  If you have the need for a new floor, this is an inexpensive and simple alternative.  And I feel the results take the floor up a notch.

 Stay tuned for more updates as the room is coming along.  

xoxo,

Tracy

"Others have seen what is and asked why.  I have seen what could be and asked why not."  Pablo Picasso

Wednesday, May 1, 2013

DIY - Laundry Room Move

As I have stated here, when hubby and I moved into our current home, we downsized quite a bit.  Our children were grown and we only had one left at home.  And she was on her way out anyway as she was headed off to college.  

It was time to for us to think about our future without children living with us.  So we went with a smaller house where the main living is on one floor.  However, this house has the potential of actually being bigger than our previous home because it has an unfinished basement.  SCORE!  

Since we have moved in, we have created a bathroom and a bedroom in the space.  Click on the links to see those posts.  

We still have quite a bit more to do, but as you know, home improving takes time and money.  And hubby and I love doing it ourselves, so the basement was a WIN/WIN for us.

One of the areas that we sacrificed when we moved was a laundry room.  Our new home has a laundry "closet".  Boy, has THAT been a challenge!   This room is so small that we have to angle our dryer in this closet because we cannot get the dryer door open otherwise. 


We had installed some stock cabinets that we had purchased from Lowe's over the washer and dryer.  That helped somewhat with organizing our laundry supplies.  As you can see from this picture, the dryer is slightly skewed in order to have access to the inside.  Oy' vey! 


The dryer also acts as a "storage of junk" space.  Do you have that space in your home too?  

It's those things that just seem to not have "a home at the moment" and it totally frustrates me!  (Breathe, Tracy, Breathe...)

So hubby came up with a good idea.  Why not move this laundry room to the basement in the area between the bathroom and the bedroom?  We can make it a beautiful space with lots of room!  And this existing laundry closet will become a large pantry right outside of our kitchen.
I JUMPED on the idea!  As an avid blog reader, I had just seen THIS blog post from Thistlewood Farms.   (I LOVE her blog!  You need to check her out.)   Oh the glorious beauty of that floor...  And that ROOM!  The wheels were spinning in my head. 

This is Karianne's room from her blog.


The floor is simple!  AND cheap!!!  AND perfect for a basement floor that still seems to find ways to spew water (we think we have solved all issues at this point.) 

Here is the room before.  The floor was initially painted, but we have had 4 different issues with water in this space and that's why it is peeling.  The door here goes into our guest bedroom that we built ourselves.


Same wall, just moved down a tad with my camera.


Here is the back wall.  The wall on the left of this picture is the bedroom wall and the wall on the right side is the bathroom wall.  The stairs are to the right of the photographer (me!).  The oven that you see there will be placed into my kitchen upstairs as soon as we get the parts to fix it.


Can't you just picture a washer and dryer there in front and to the left a folding counter with lots of cabinets?  I can!


 What a mess.  I will be so glad to give this space an identity!


So keep coming back for our transformation.  Our floor is already in and hubby is working on the walls to lay the sheet rock.  I'll post an update soon!

Thanks for visiting!

xoxo,

Tracy


"Learn the rules like a pro, so you can break them like an artist."  Pablo Picasso


 I'm linking up with Savvy Southern Style's Wow Us Wednesday! 


Monday, April 29, 2013

DIY - Mom's Bathroom Remodel - Update

If you have been reading my blog this year, you know that my hubby was remodeling my mom's master bathroom. You can read the beginning HERE. 

Well, it is 95% finished.  (I know you have been holding your breath in anticipation!)  

(Hello?  Anyone out there?  ;-.))

Because hubby did most of this while I was working, I do not have many photos of the "during".

Here is the bathroom now:


Mom chose a unique tile that looks like old barn wood. 

She kept the shower floor lighter and we really liked this small square pattern.  This tile was purchased in sheets at Lumber Liquidators. 

The sides are capped with a decorative tile that adds a little femininity to the shower.  She also got this tile at Lumber Liquidators.
This might be my favorite part of the bathroom.  My parents bought this antique dresser and it was painted with white paint that was peeling off.  My step-dad refinished it to this beautiful masterpiece.  They used it as their sink base.   Sorry for the fuzzy picture!

My mom's sink base which was purchased at Home Depot online...


And their floor....  It was purchased at Lowe's.

Their whole bathroom is enveloped with warmth.  Not only because of the wood tones, but there is a heated floor underneath!  Mom said this is her kitty's favorite new spot!

Hubby does have a few more things to take care of like finishing off the linen closet the old/small shower was and putting in the baseboards.  I think he did a great job.

What do you think?


"The worst  enemy to creativity is self-doubt."  Sylvia Plath

xoxo,

Tracy

I'm participating in Metamorphosis Monday over at Susan's porch.  Join us there for lots of Before and Afters. 


Monday, April 22, 2013

Mancave Mania

When we moved into our current home there were two things that drew us into purchasing our house.  The first was the basement.  We have always wanted one and, other than it flooding 4 times so far, we have thoroughly enjoyed it.  

The other thing that really sold my husband on the house was the detached garage in the backyard.  It is 40 feet by 25 feet and the joy on his face when he saw it was measurable!  I did not have a leg to stand on once he saw that garage.  

His first course of action for the garage?  Move the '75 Corvette that he's going to remodel one day into the garage (the key words in this sentence in case you did not pick them up are "one day...").  The second course of action... build a mancave for the "Byrd Street Hooligans"!

Let me explain the Byrd Street Hooligans for a moment.  My husband has an alias.  He was 6 when his great-grandpa called him "Tom Byrd".  My hubby thought that was "cool" and began referring to himself as "Tom Byrd".    When he started school at the tender age of 6, he signed his papers as Tom Byrd.  His teacher thought that she had a new student and added him to the roster.  After a few days, she called my mother-in-law to find out why "David Boyle" was not attending class and whether he was still enrolled.  It was then discovered that "Tom Byrd" and "David Boyle" were one and the same!!  Isn't that a cute story?   

To this day, he still calls himself that...  Seriously...  Not formally of course, but anything that he does, it is done by "Tom Byrd".  Hence, the name of his "gang" is "Byrd Street Hooligans."  

Did you notice that I used the word "gang".  Yep, you read that right.  Hubby thinks that he's in a "gang".  Him and "his boys."  They were all into the television show "Sons of Anarchy" at the time that they "formed" their "gang".   They even  had to have positions within the "gang" such as "President", "Vice-President", and "Sgt. at Arms"...  This is a 50 year old man... 

 They even drew a logo.  Those are wrenches in the skill since hubby is a jack of all trades...

Take a deeper look at the "mancave"...  All design ideas were made by hubby.  I think he did a pretty good job!


He loves his neon... This is the "bar" side of the room.  That's why it is painted green.

 Tony Gonzales... Former Kansas City Chiefs, now an Atlanta Falcons... Hubby forgave him for that... I think...


This artwork was purchased at the Yellow Daisy Festival at Stone Mountain Park many years ago for our son's bedroom.  We have inherited it.  It has military planes on it and hubby used to work on some of them.


Schematic of a cockpit?  Boys are dumb...  

 The obligatory flat screen tv...


The rug was purchased by my MIL for her home.  Once hubby saw it, he badgered her until she gave it to him.  I think it's perfect right where it is!
 

The sword to the right of the Coors sign was given to us by our son who was stationed in England at the time.  He got our "coat of arms" while over there.  Pretty darn cool present.  

Hubby created the bar himself.  In fact, he did the entire room by himself.  Remember, it used to be a garage.  The wash bin is his "sink".
 

This Budweiser light was in pieces and hubby gently put it back together.  He got this from my stepdad and has always loved it.

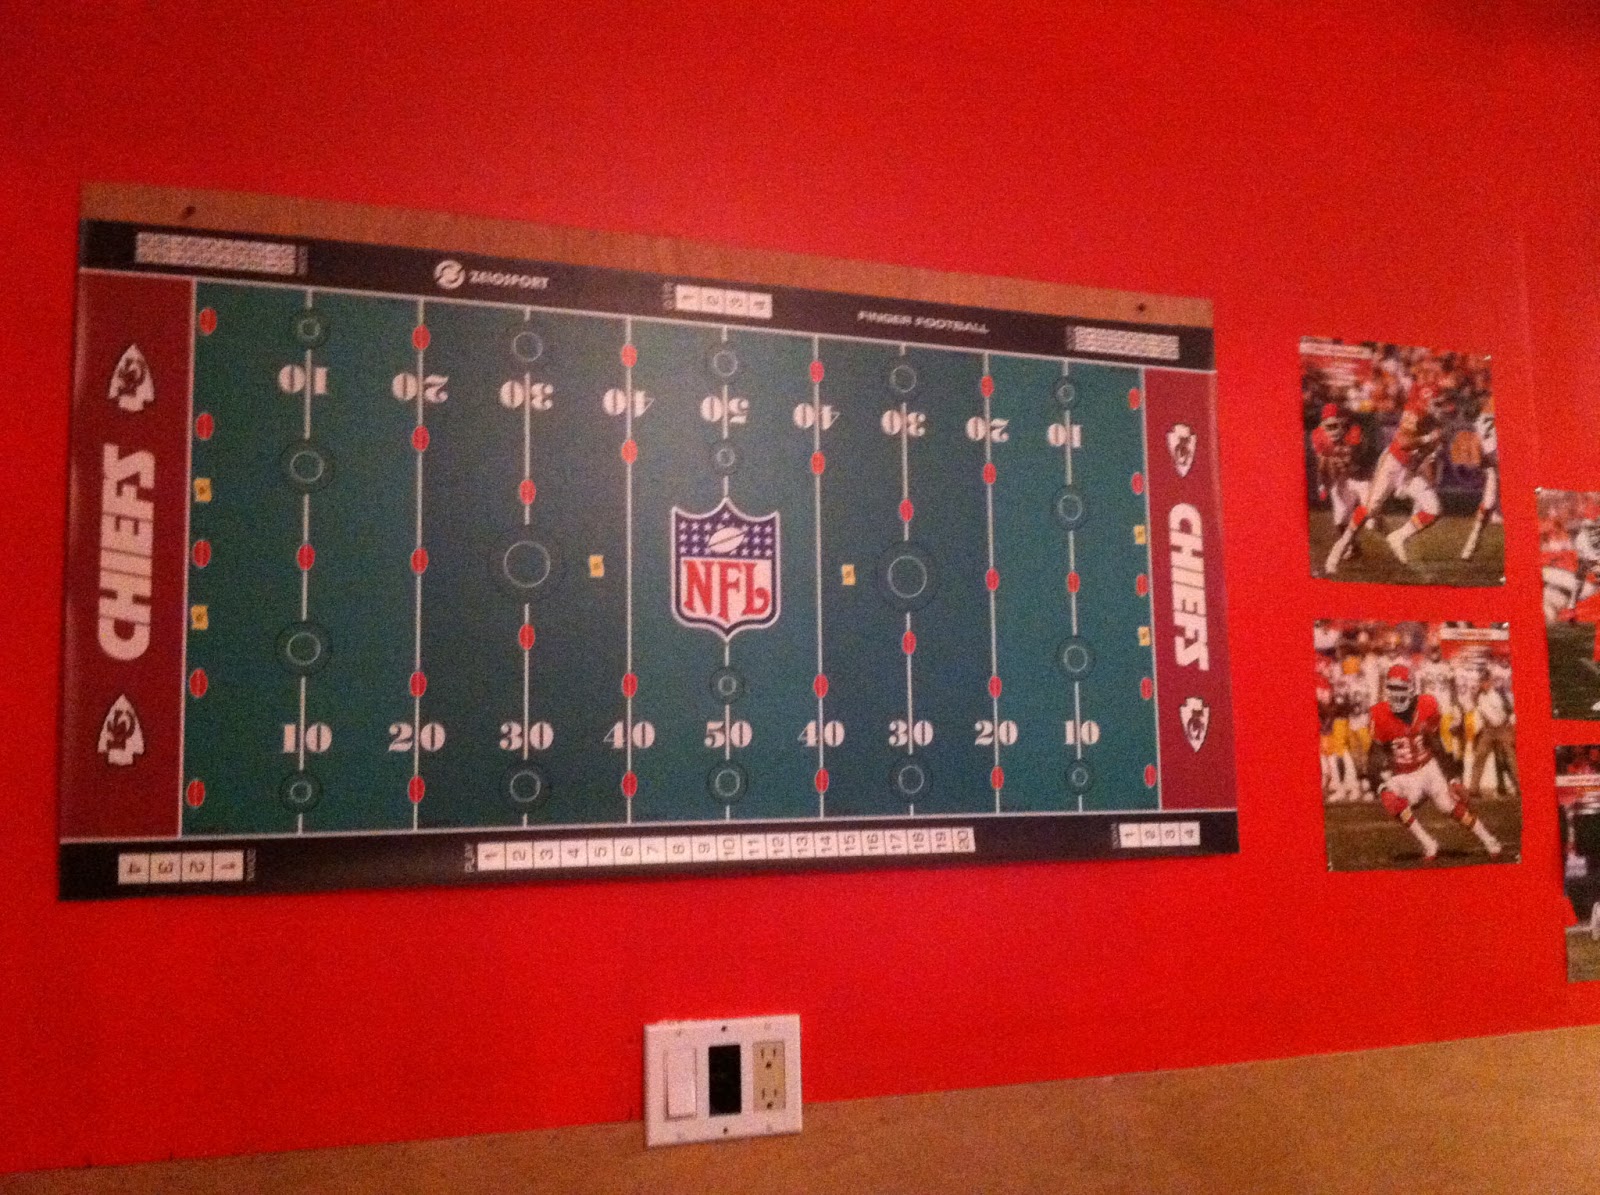
And this is the "sports" side of the room.  That's why it is painted in KC Chiefs colors.
   

 Finger football board.  Lots of fun has been had at that board!

What do you think of our "cave"?  Keep making your space beautiful everyone!  

"Creativity takes courage..."  Henri Matisse

I'm joining Metamorphosis Monday over at Between Naps on the Porch.  


Come over and visit and leave us blogging "love" by commenting on posts that you really enjoy reading!

xoxo,

Tracy

Tuesday, January 15, 2013

Rainbow Birthday Card

As a working woman, I know that I have to put on my wife/mom hat once I get home from the job.  I'm sure all of you do as well.  It is just the nature of being a working woman.  But I don't know what it is about Monday nights...  

Maybe it is because I no longer have kids to worry about and the fact that Hubby is working?  Maybe it is because I ride a commuter bus to work and I have to get up really early?  I'm not sure...  But for some reason, on Monday nights, I want to sit and vegetate.  I'm mean, seriously vegetate.  I want to watch my "trash TV", look at the computer for updates on my social networking;  I do NOT want to empty the cat boxes, I do NOT want to empty the dishwasher and sometimes, I do NOT even want to take my makeup off before going to bed!  Do you have those days?  I wonder if it is because I do not have anyone monopolizing my time.  When my children were little, it was imperative to have a routine.  For my sanity...  But as an empty-nester, there seems to be a lot of time to get "that" done.  So I procrastinate.  

If you are an empty-nester, how do you stay on task?  

Let's focus on creativity...

This card was created using a stencil.  I placed the stencil on my paper and then used ink and daubers.  I swirled the dauber in the ink, and then swirled (that's the term for "circular motion"!) the ink on the stencil.  Swapping daubers and ink colors gave us the creation you see below.  


What do you think?  Do you like the effect?  I think it turned out pretty and it was really easy to achieve.

Stay focused on creativity!

Monday, January 7, 2013

Mom's Bathroom Remodel

My hubby is very handy when it comes to home improvement.  In fact, in all three of the homes that we've owned, we've done all of our improvements.  Those improvements have included: closing in a garage to make a bedroom, laundry room and family room; installing new kitchen cabinets and counter-tops; removing windows; re-tiling bathrooms; putting in heated floors; and even removing arches from a formal living room that we wanted to close in with pocket doors.  We thoroughly enjoy the creative aspect of a remodel.  

In light of all of this, when my mom and step-dad said that they wanted to remodel their bathroom, Hubby knew that he could handle the job.  Plus, because I'm trying to do something creative each day of the year, by helping Hubby out, this is a great way to meet my goals!  We are hoping this remodel goes quickly because we are getting close to our daughter's wedding and mom is housing some of the family that is coming in for the wedding.  We need bathrooms!!


This photo below shows where the tub used to sit.  My parents wanted to remove the tub because it is never used and replace it with a nice, two person shower.  The windows will need to be removed; the floor will need to be leveled; the walls will need to be erected; and then plumbing will need to be plumbed.  


This is a photo of their vanity which will be removed.  My parents have bought an old buffet that they are hoping to use in this space.  Mom wants more counter space and only one sink.


This is a photo of the old, VERY small shower that home builders are placing in all the houses these days.  How in the WORLD do they expect us women to shave our legs in that small of a space???  This area will become an over sized linen closet.  What woman would not love that?


This is the new shower pan.  It is very light and easy to handle and the tile gets tiled directly over this pan.  Things have certainly changed in recent years.  Hubby and I remodeled our bathroom in the past and changed out the shower pan.  It weighed over 400 pounds and we had to get it upstairs!  Boy, was that a job for many people!  

Excluding me, of course...


In this photo, you can see my important contribution...  It's a job that I took seriously....New title:  Tile Buster...  

I placed that blue thingy under the tile and hit it with the hammer and then I used the smaller thingy and pried the tile from the top.  I had to do this several times per tile to make progress.   I could not lift my arms for a day afterwards.  Not a pretty sight when trying to put my makeup on...


Look Ma!  No windows!  The windows have been completely removed and now "green board" is going up.  Green board is used in "wet" areas.  Also, you cannot see it, but the 2x4 on the right side is the wall that will have the shower head,  knobs and cut-outs for holding shampoo, etc.  I'll add that photo as we make progress.


So what do you think so far?  Keep coming back to see our progress.  

Embrace creativity!  Even the smallest action/task can lift your spirits!